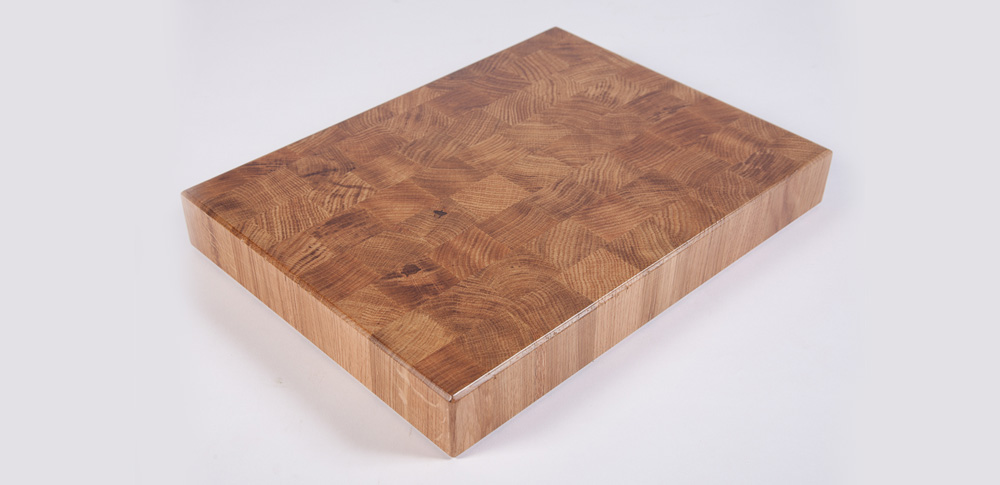
End grain table tops look fantastic, as they have some interesting patterns that can really bring a breath of fresh air to your home. They are primarily made from contrasting pieces of wood. It’s called “end grain” because, instead of the faces of boards showing the upper surface of the top, the wood is manually and carefully arranged so that it shows the end grain. If you’d like to build one for yourself, rest assured that it’s actually easier than it may seem at first.
Getting started
Choose your wood carefully. For example, beech for the legs would be an ideal option for end grain table tops. The top will ideally need different types of wood, such as beech, walnut, cherry for example. Then , joint and plane strips for the tabletop, then glue them together. To calculate the length of the long-grain strips you’ll need to multiply the thickness of the end-grain tabletop you want by the number of end-grain rows needed for the desired tabletop length. Just bare in mind that more often ”too long” is better than “too short”. You will need to use plenty of clamps and alternate them from side to side, and also wooden cauls in order to keep the strips as leveled as possible.
Before the glue joints dry up, make sure you clean them and let the panel sit and cure for 24 hours.
Gluing and leveling the End Grain slab
In order to keep the strip aligned, make holes for three dowels across each joint. The dowels will not need to be glued in because the joint will actually be strong enough. They are only for alignment purposes. In terms of leveling, if the glue-up went well, all you need to do is prepare for sanding. However, if the corners wobble on a flat surface, you will need to remove the extra wood.
Final Details


You’re almost ready to enjoy your new tabletop. Of course, legs and aprons also need to be assembled, and the wood for them milled. But that’s really up to you to decide which type of wood to use and how to design the legs. The tabletop slab will need to be prepared in order to be attached to the base properly. Short, routed grooves and metal Z-clips can be used at this point. For a maximum protection, oil-based varnish needs to be applied. About eight to ten coats will do the job. Sounds like a lot? Yes, it might be, but end grain is really thirsty and deserves that extra care. Oiling it properly will protect it’s colours and will also prevent the scratches.
Looking for professionals?
If you’re unsure where to start or don’t really have the necessary space to bring together a new end grain tabletop, we have the right solution for you. You can contact us for a no-obligation on-site consultation, or give us a call at 020 7060 0870 and we will help you obtain a wonderful end grain table of any size that perfectly fits your requirements.